Technicolor 2-strip 2004
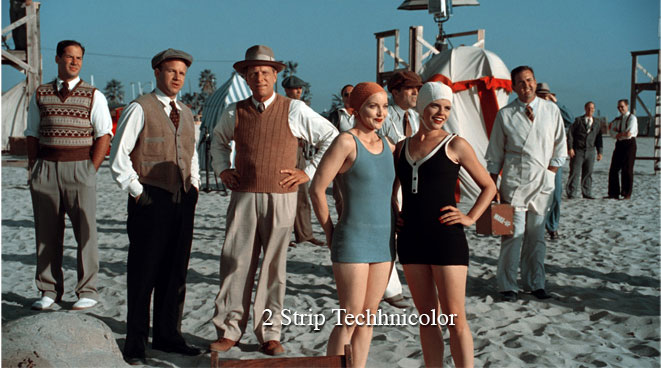
Here's where things really get interesting. The 2-strip process is the test of whether or not a model for doing The Aviator's version of Technicolor works.
The problem is that 2-strip, as described by most attempts, uses the same filtering from 3-strip: the same filters obtained through additive/subtractive means (or by mattes as I've done) multiplied to the original colour channels. To make it 2-strip one of the colour channels (usually blue) is removed and somehow it makes decent skin tones, full blacks and good whites. Sound pretty much impossible? It is.
There is a way, and The Aviator figured it out. Fortunately, there are clues from The Aviator web site.
 Rob Legato's technicolor 2-strip process, from AVIATOR VISUAL EFFECTS - BEHIND THE SCENES [archive]
In short, natural skin tone was achieved by filming two black and white strips of film (with a red and green filter on the lens) and later adding Yellow dye to the resulting Cyan and Magenta printing matrices. The yellow dye makes up for the lack of yellow color found in skin tone pigment but ultimately can not reproduce yellow or any shade or variation of blue (as a result of the missing blue layer.) The resulting matrices appear orange and a warmer version of cyan more than the normal magenta and cyan found in the later three color process. This look creates an odd but pleasing hand-painted look where faces appear normal and green takes on a blue-green quality while the sky and all things blue appear cyan.
The Process
To break it down into steps:
- use the same filtering process from 3-strip, breaking into red, green and blue channels, building matte filters and filtering the colour channels, and recombine. Basically, run the image through the 3-strip process,
- convert the 3-strip processed image into CMYK colour mode, and separate into cyan, magenta and yellow colour channels, remove the yellow channel. Put magenta and cyan channels into RGB colour mode,
- add yellow to the magenta channel, and add red to the cyan channel,
- combine the magenta and cyan channels.
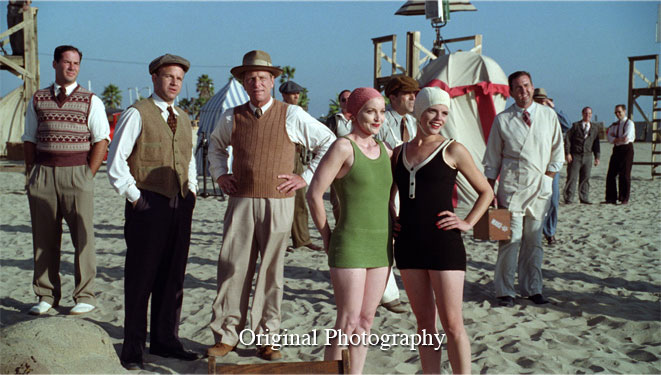
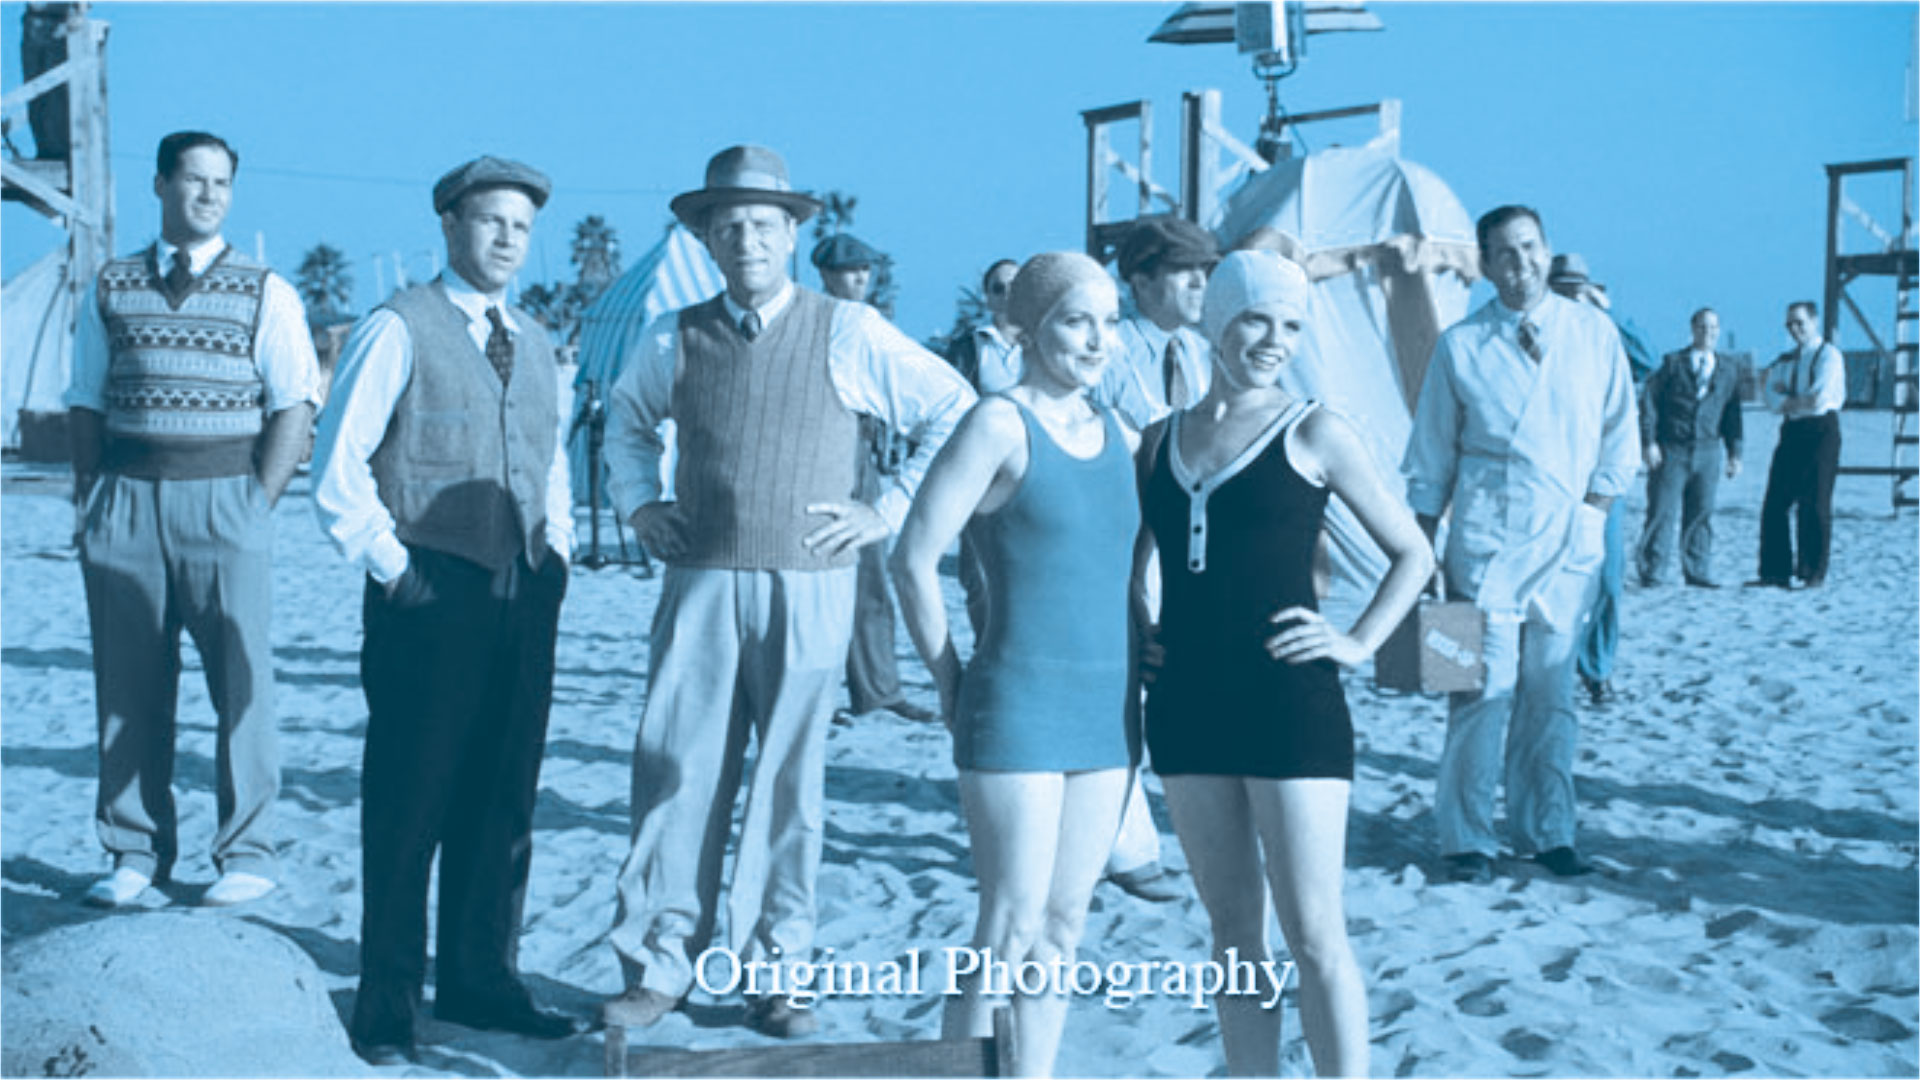
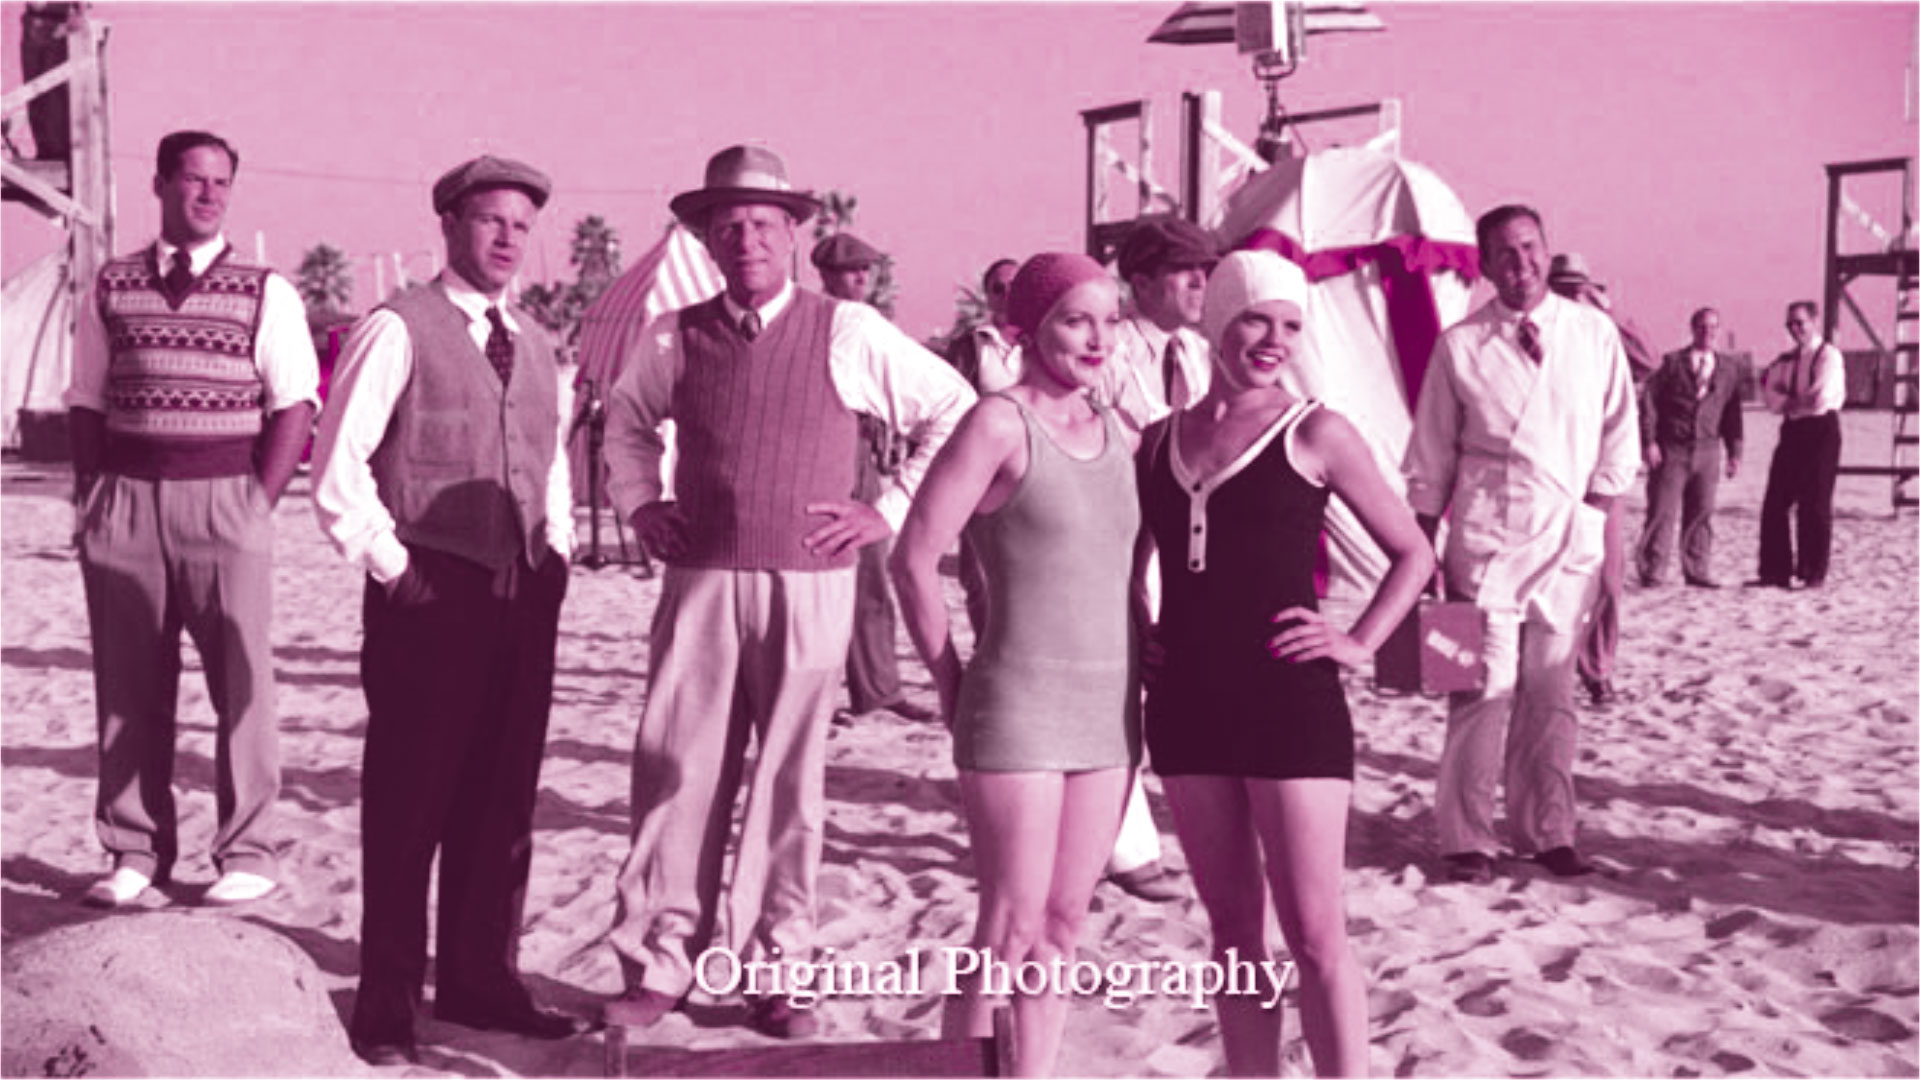
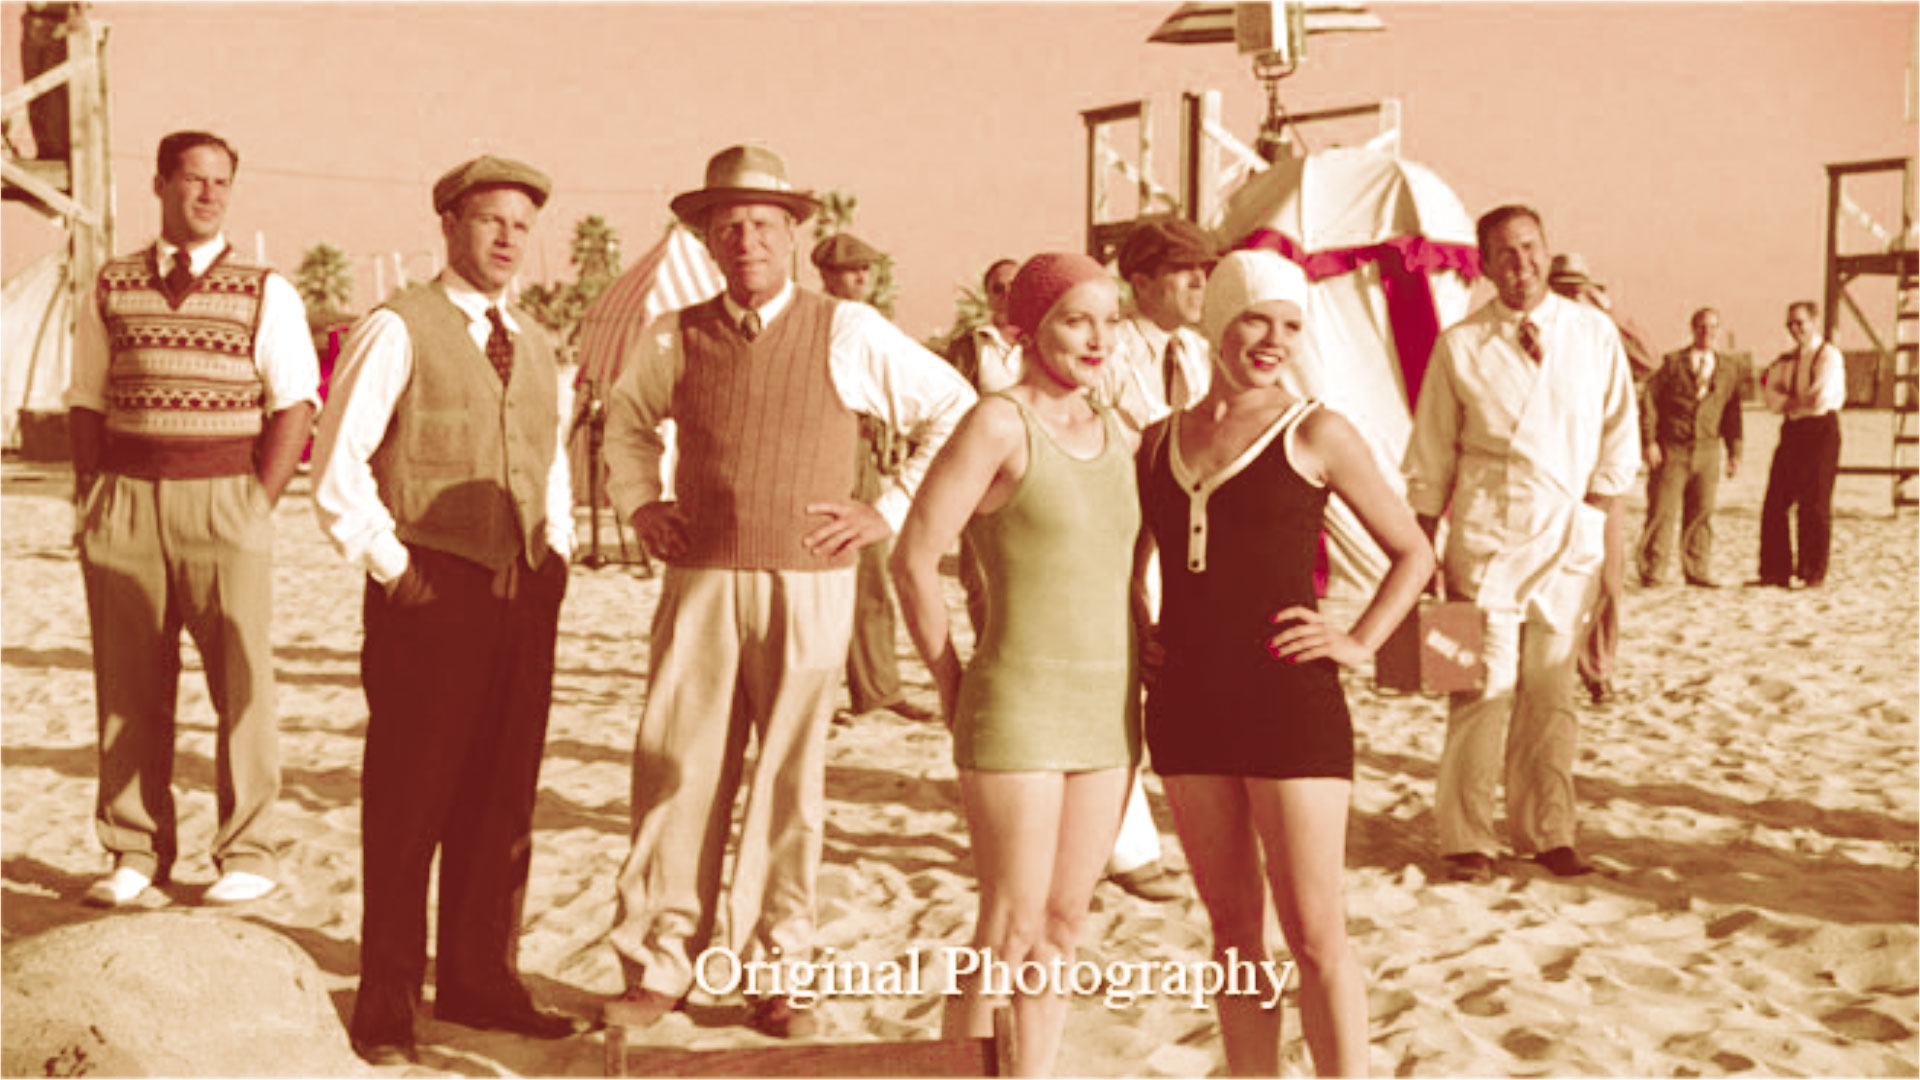
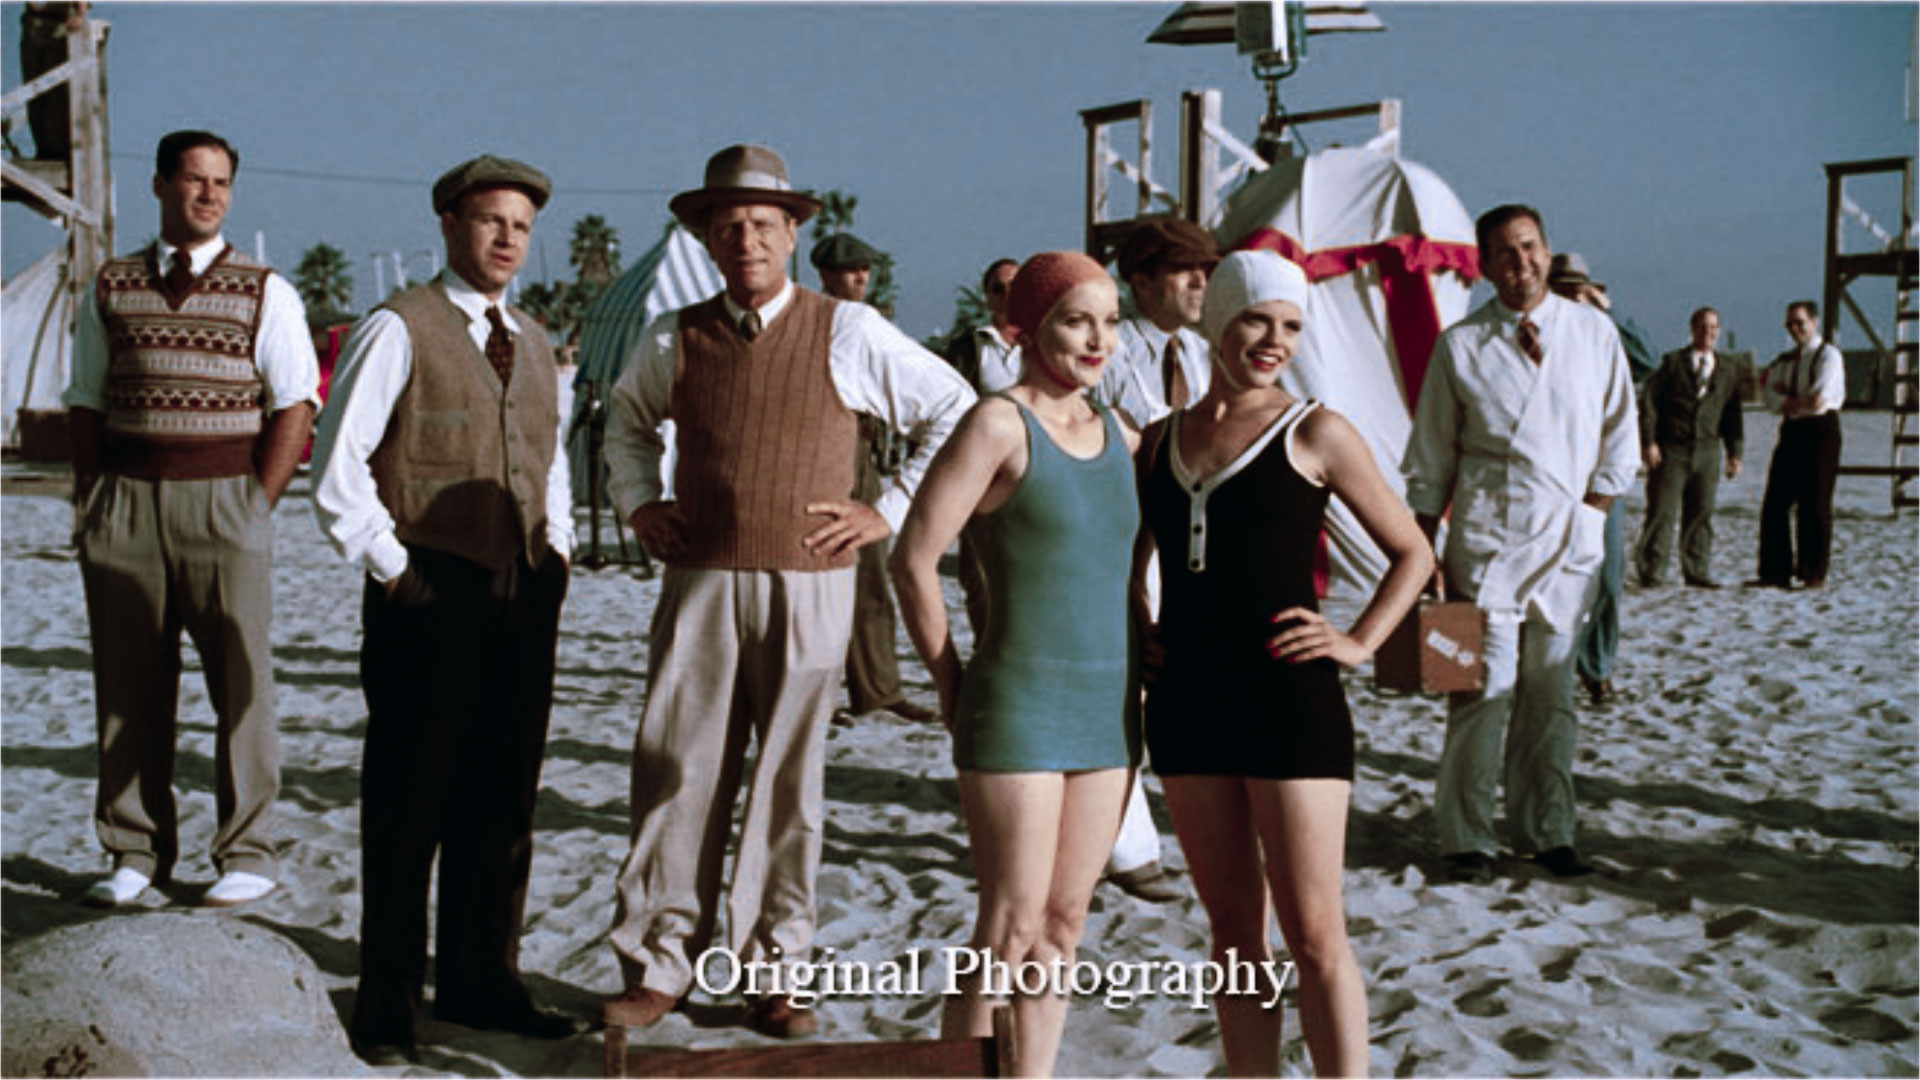
I'll do the same thing, using this image as my sample.
Filtering
Filtering is easy. Now that we know how to do 3-strip, we can take care of filtering all in one go.
Convert to CMYK
For CMYK conversion, it's not enough to create Cyan, Magenta and Yellow channels in After Effects using the same method as the Red, Green and Blue filters from 3-strip, that is, using curves and taking out red for creating a cyan channel. Take another look at the Cyan Layer in the 2-strip process diagram. See all that monochrome cyan and white on the tent? You won't get that in a cyan extraction using curves in RGB space.
 Not what we want from Cyan, made by just using curves eliminating red.
The clue is in the video, "convert to CMYK". That means convert to CMYK colour space. Legato used Photoshop for the conversion for the sample he used to build his LUTs. Converting to CMYK and separating channels gives you this.
 Cyan channel
 Magenta channel
To create these images, I popped the 3-strip final image into Photoshop, converted to CMYK mode, pulled the Cyan separation (with the black K layer), saved it, converted it to RGB and put it back in After Effects. Then did the same for the Magenta separation.1
Add Yellow (and Red)
On the diagram from The Aviator web site, it says to add yellow to both cyan and magenta. On other articles, like American Cinematographer, it says to add yellow. Only in the video from The Aviator web site it says to add yellow to magenta and red to cyan.
From what I experimented with, the video is right. Add yellow to magenta and red to cyan.
The problem is how and how much. After lots of experimenting and attempting to match the colour from the 2-strip process diagram, I came up with this:
- Add a yellow solid, Hue: 60, Saturation: 100%, Brightness: 100% to magenta, using a soft light blending mode, set to 75% opacity.
- Add a red solid, Hue: 0, Saturation: 100%, Brightness: 100% to cyan, using an overlay blending mode, set to 25% opacity.
I wish I had a better method of making this work, one that made more logical, digital analogue-to-optical sense, but I don't. All this is pretty After Effects/Photoshop-y, but it is the secret sauce of this process. The results look like this:
 Cyan, with red
 Magenta, with yellow
Combine
Put the resulting comps into a new comp, and this time, use a multipy blending mode to combine them (because they are subtractive colours).
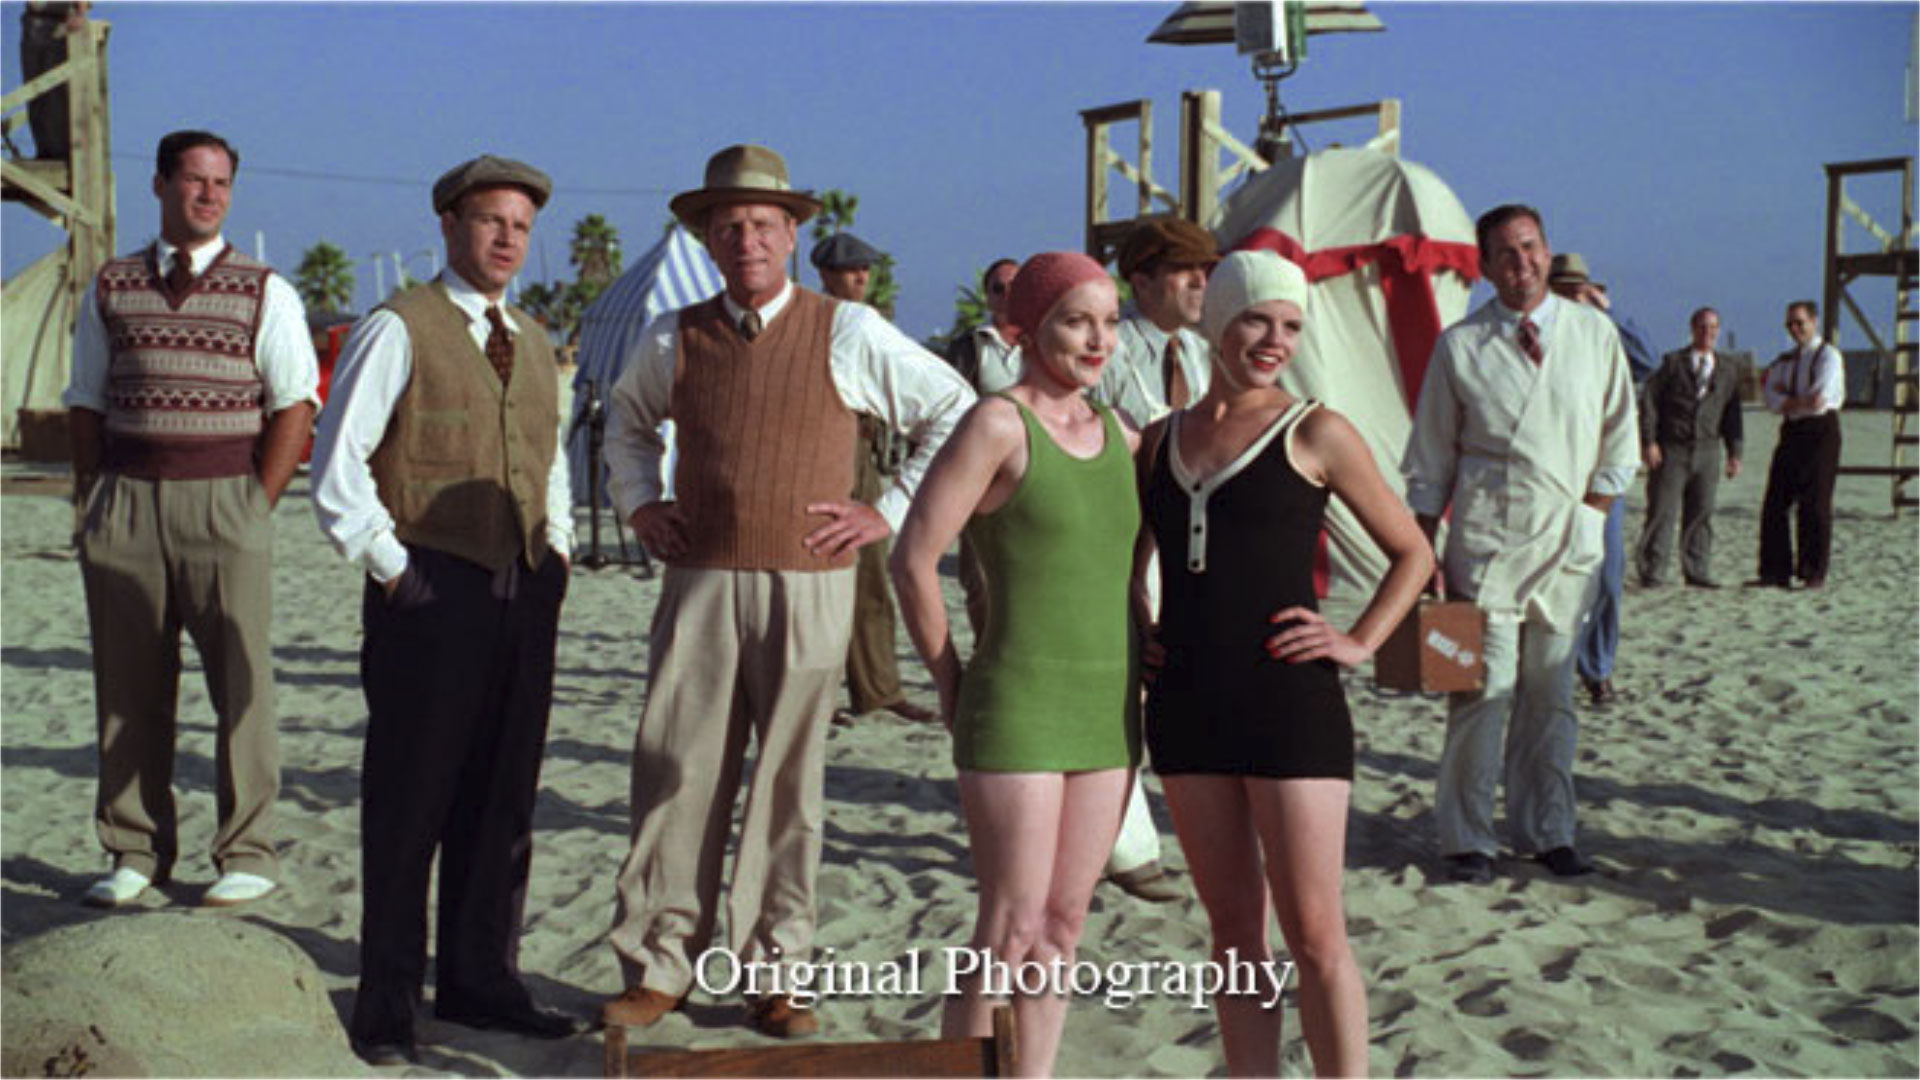
Compared to the final image from The Aviator web site:
It certainly nails the skin tones, but it's a little more pure white in the whites than the yellow from the sample. Compared to a still from the DVD:
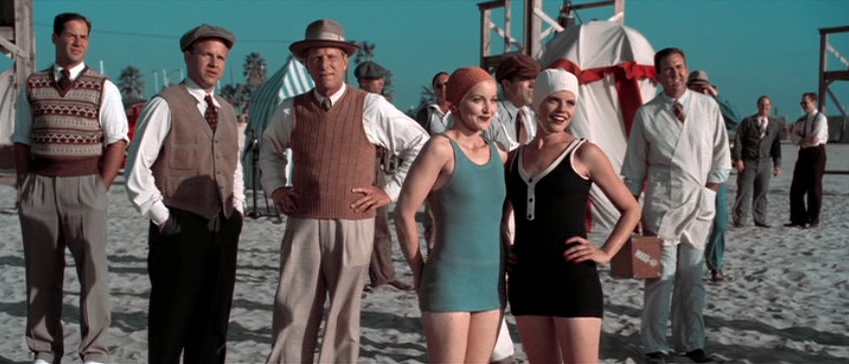
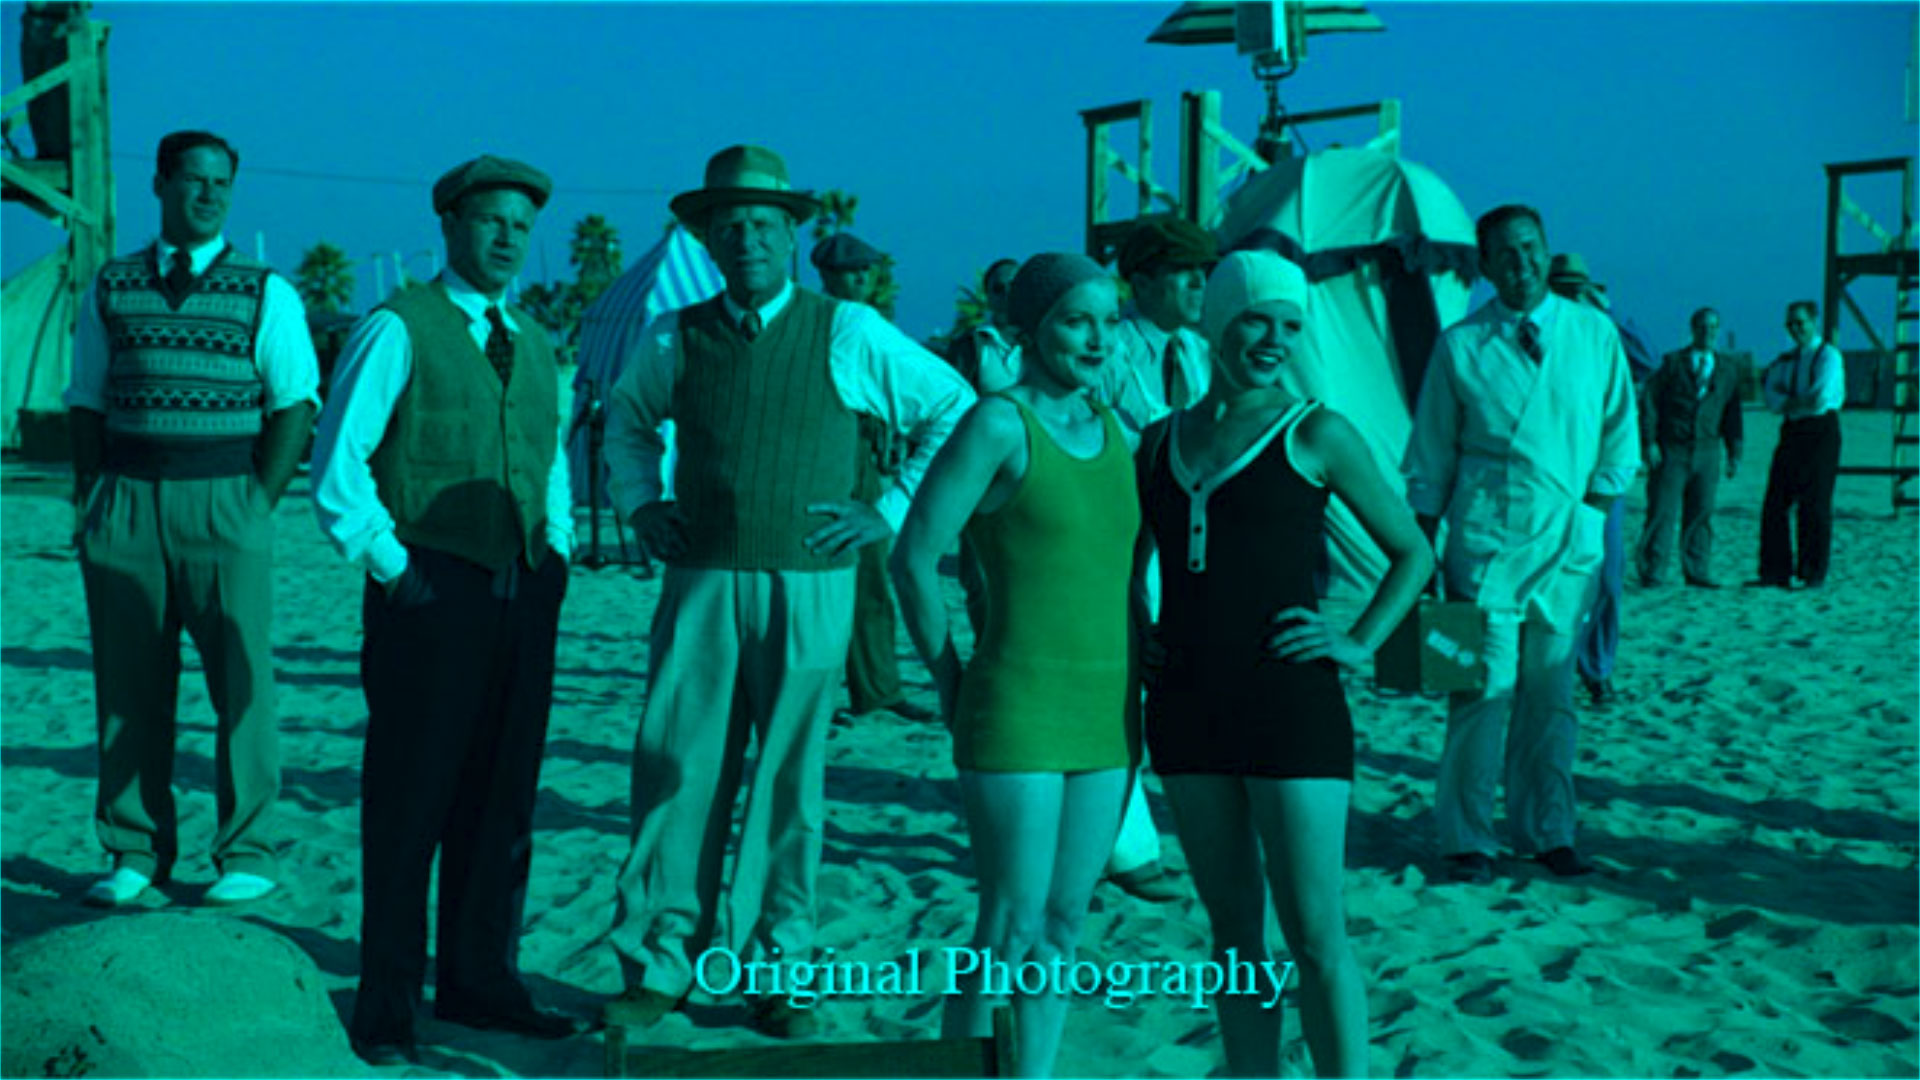
The skin tones still seem to hold up, the browns are good. The shadows are a bit too deep, but what do you expect from multiplying two black-backed cyan and magenta layers together? Nothing that a trip to the Davinci wouldn't fix. Oh, and also, make that sky more like that weird cyan colour while you're there, ok?
Yeah, this digital stuff. I think it's really going to catch on. It's...
Notes
Published Friday, February 11, 2022.