Technicolor No. II 1922-1927
After already building Technicolor No. III, the earlier Technicolor No. II (1922 to 1927) should be easy to do. The Technicolor No. II process used the same camera and filters, but used two positive prints, each toned with the corresponding red-ish and green-ish colour, and cemented together back to back. Prints had issues with scratching and were prone to fading.
But for us, using a digital model, we don’t need to fuss with cement, and issues with scratching and fading (also also exposing ourselves to chemistry that probably shortens our lives). We just have to figure out a digital equivalent.
Like in Technicolor No. III, the Technicolor System 2 Camera shot two simultaneous black and white negatives, one for the green record (has the dot on the neg) and one for the red record (inverted upside down).
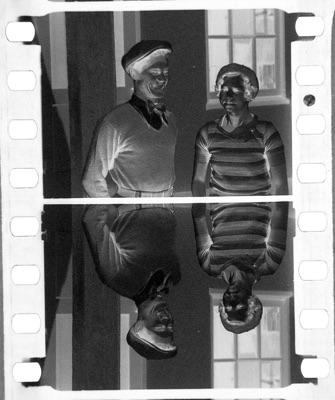 
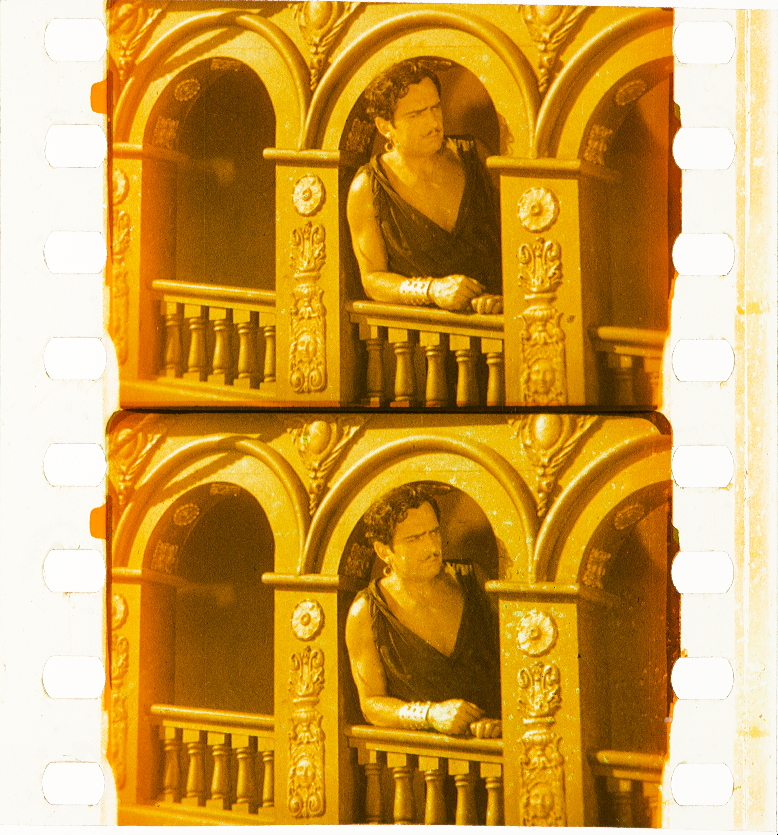
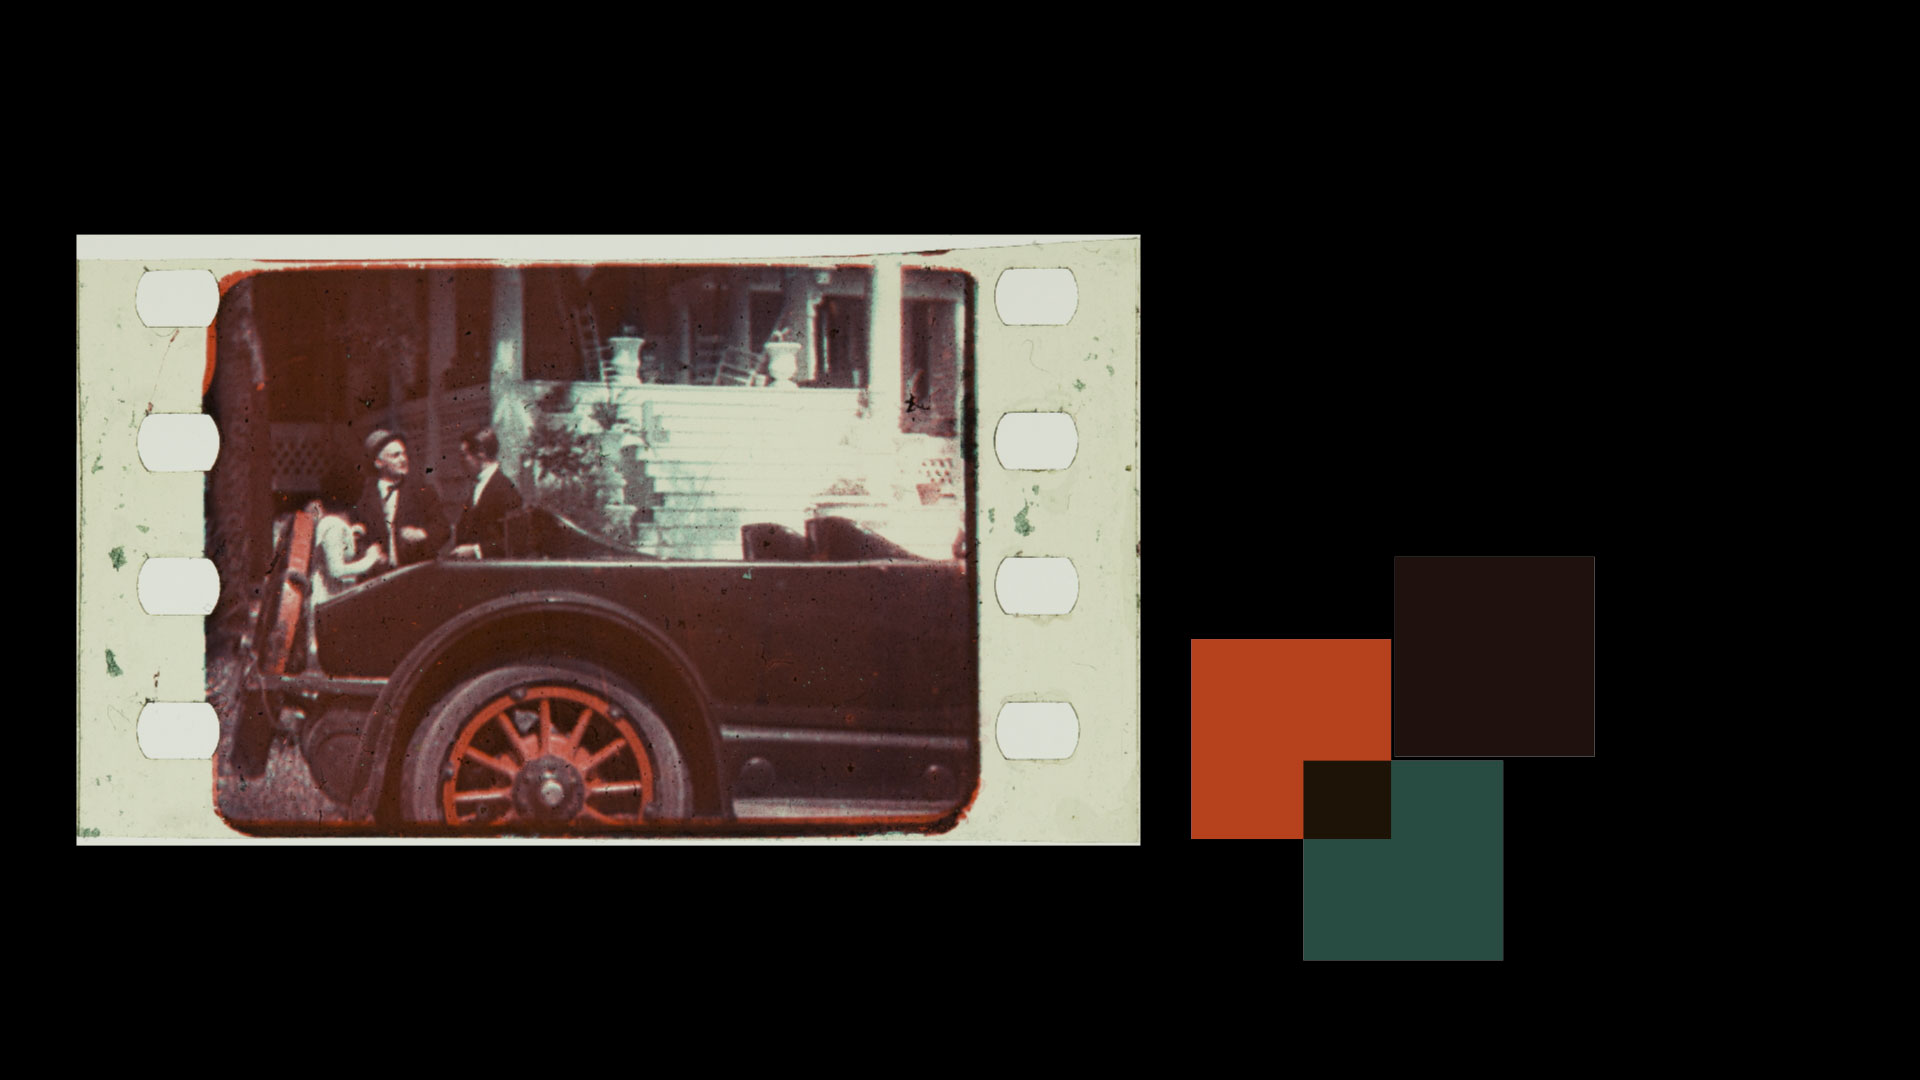
Credit: Geo. Willeman, Nitrate Film Vault Manager, Library of Congress, from the Timeline of Historical Film Colors.

Credit: Geo. Willeman, Nitrate Film Vault Manager, Library of Congress, from the Timeline of Historical Film Colors.
The two negatives images were step printed onto two positive prints (red skipping the green record, and green skipping the red record).
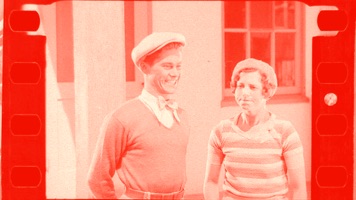
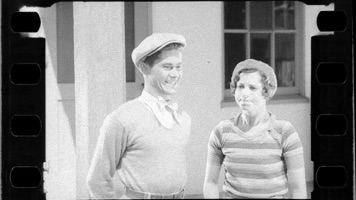 Red positive print.
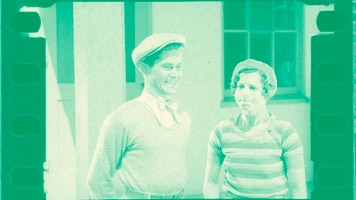
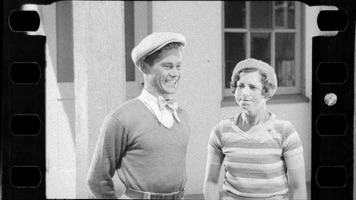 Green positive print.
Just as an aside, it’s must have been insane to keep track of everything during editing. How would editing have been done? What would the editor have used as a cutting source? Surely not a colour print; it must have been a black and white dup from the positives, with edge codes to match back to... not the negative. There must have been two generations of prints from the camera original. A positive duplicate master, then positives made from of the the colour separations for editing, and then red and green positives made from the positive master for making the colour matrixes.
The two positive prints were then prepped for receiving colour.
A tanning process hardened the silver image. In the following step the soft portions were washed away. The relief matrices were then glued together and the opposite sides of the film dyed red-orange and blue-green respectively.1
I don’t think that’s correct. In photography, tanning hardens the emulsion, not the silver halides suspended in it.2 I think tanning is the opposite on a positive print. The gelatin portions harden (the lighter bits) leaving the exposed silver portions soft (the darker bits). Also, the gelatin portions receive the tanning colour.
If we go with that, doing a digital tanning is easy, add a colour solid layer over each print with a sample of the tanning colour (Hue: 54, Saturation: 12%, Brightness 100%) and multiply it in.
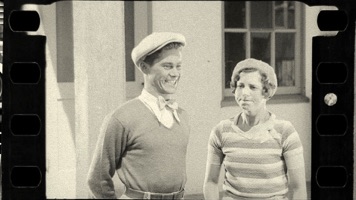 Red with tanning.
 Green with tanning.
Next is washing away the soft (dark) portions and replacing them with the dyes, also known as toning in the photochemical world. Luckily, we have a digital equivalent in After Effects, the CC Toner effect.
Apply the dyes to the colour separations with CC Toner, using it on an adjustment layer. The only trick here is to apply CC Toner before (beneath in the layer order) the tanning adjustment layer. Set CC Toner to Duotone, setting the Highlights to pure white (H: 0, S: 0%, B: 100%) and the shadows to the dye colours. Why not just use the Highlights of CC Toner for the tanning and the dye colour for the Shadows? Using a multiplied Tanning solid, CC Toner does the same as washing off the silvers and replacing them with dye, but the tanning effects the whole gelatin layer across the image. It looks slightly different and it probably more accurate.
Dyes from Technicolor No. II surviving prints have faded heavily, so it’s only a guess as to what they actually looked like. I’ll use the same dyes from Technicolor No. III, because they were probably the same.3
 A faded Technicolor II print, from The Timeline of Historical Film Colors.
The process was to tan and harden the emulsion on the positives, which we've done, and then wash out the soft portions (the blacks) and add in the dye, which then sticks to the places where the black was. Sounds to me like we have the digital equivalent at hand. Take the red separation, dye it green with CC Toner Shadows adjusted from black to H: 165, S: 100%, B:63%, and multiply on tanning.
 Red pos dyed green and tanned.
Take the red separation and do the same thing, dyeing it red with CC Toner Shadows adjusted from black to H: 6, S: 100, B: 82.
 Green pos dyed red and tanned.
All that’s left is to paste the two coloured prints together using a comp. Add each one to a new comp and multiply them together. You end up with something a little more yellow than Technicolor No. III, because of the multiple layers of tanning.
 Original Technicolor No. II camera negative, now digitally coloured.
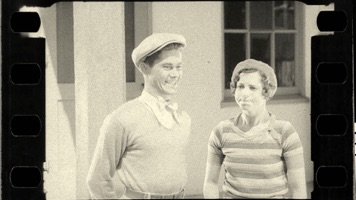
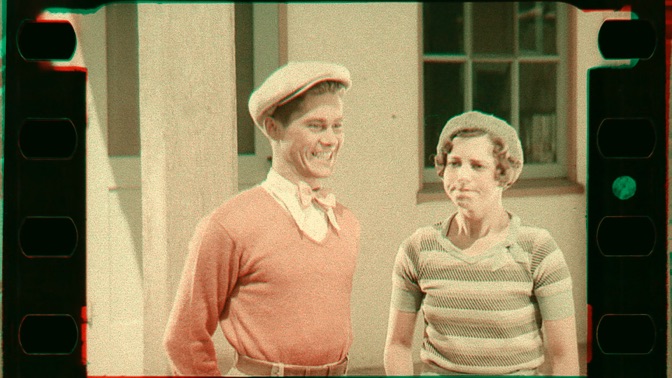
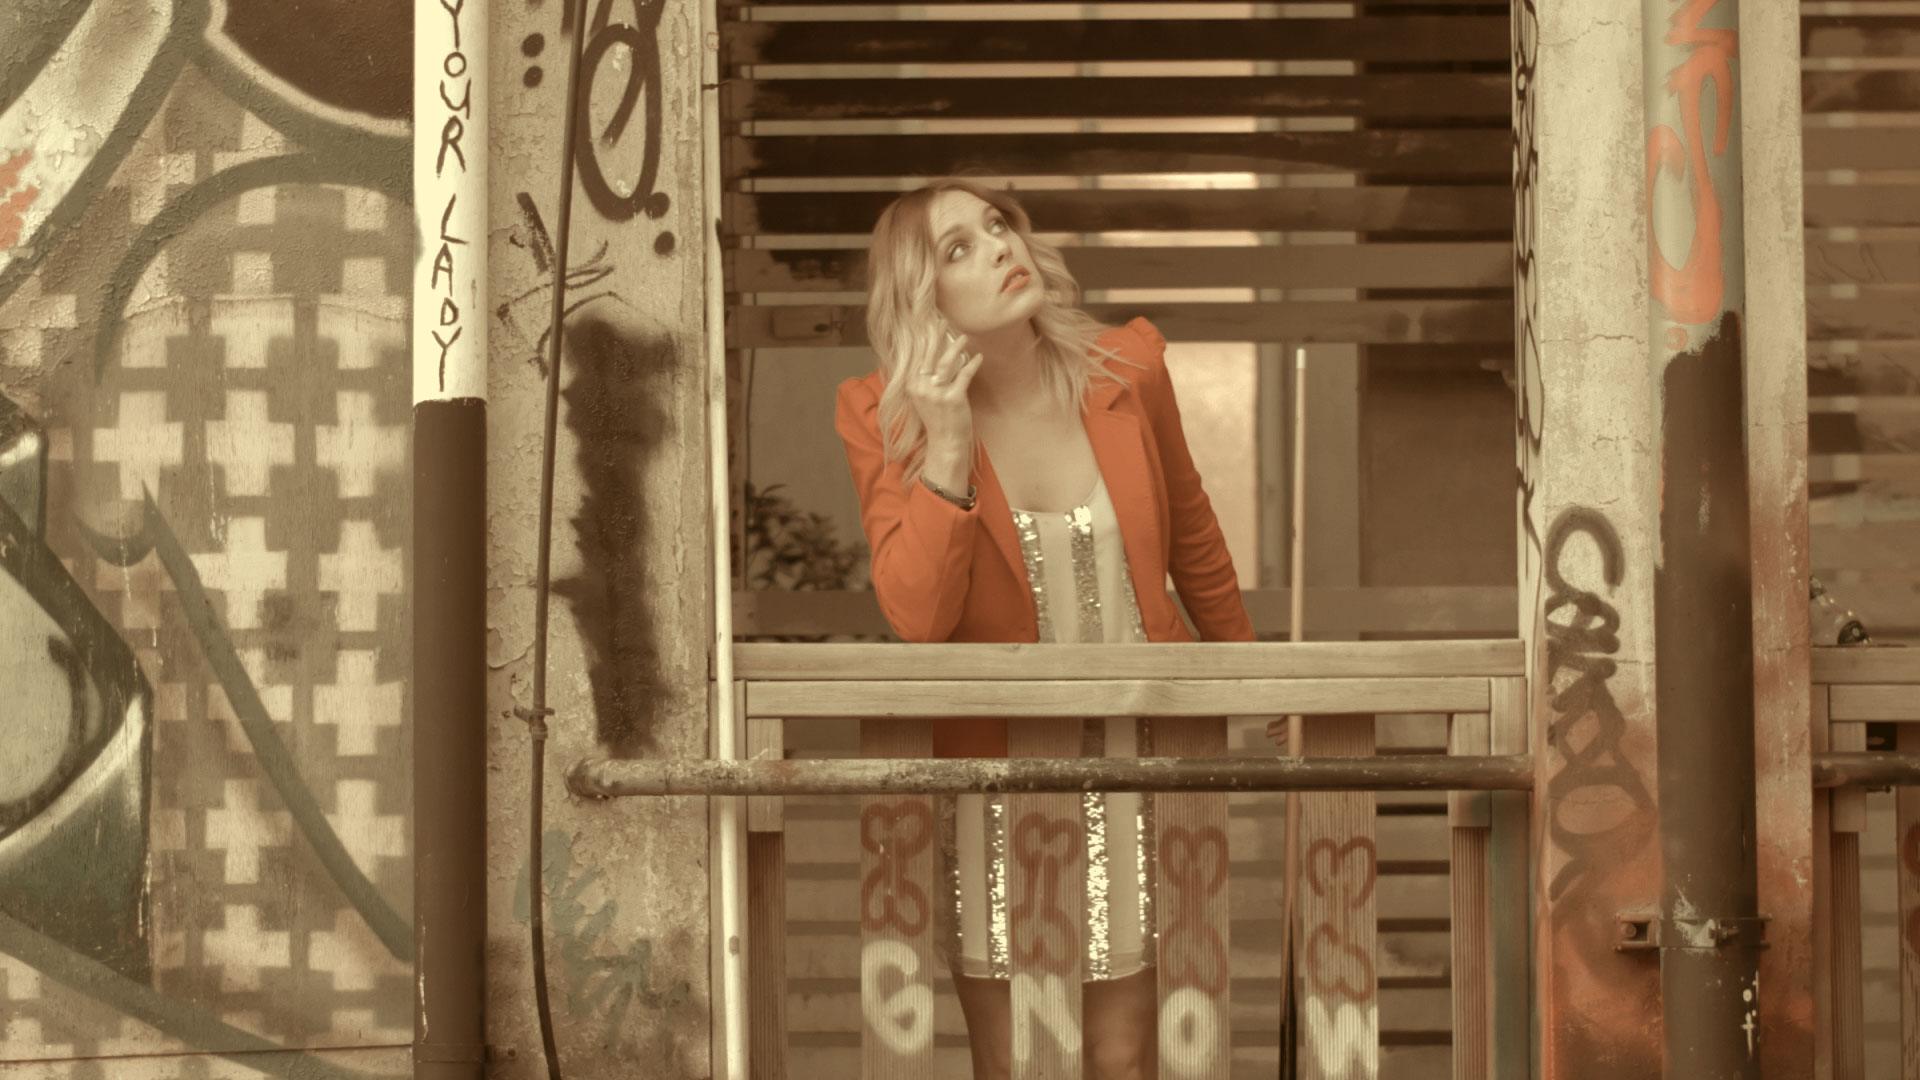
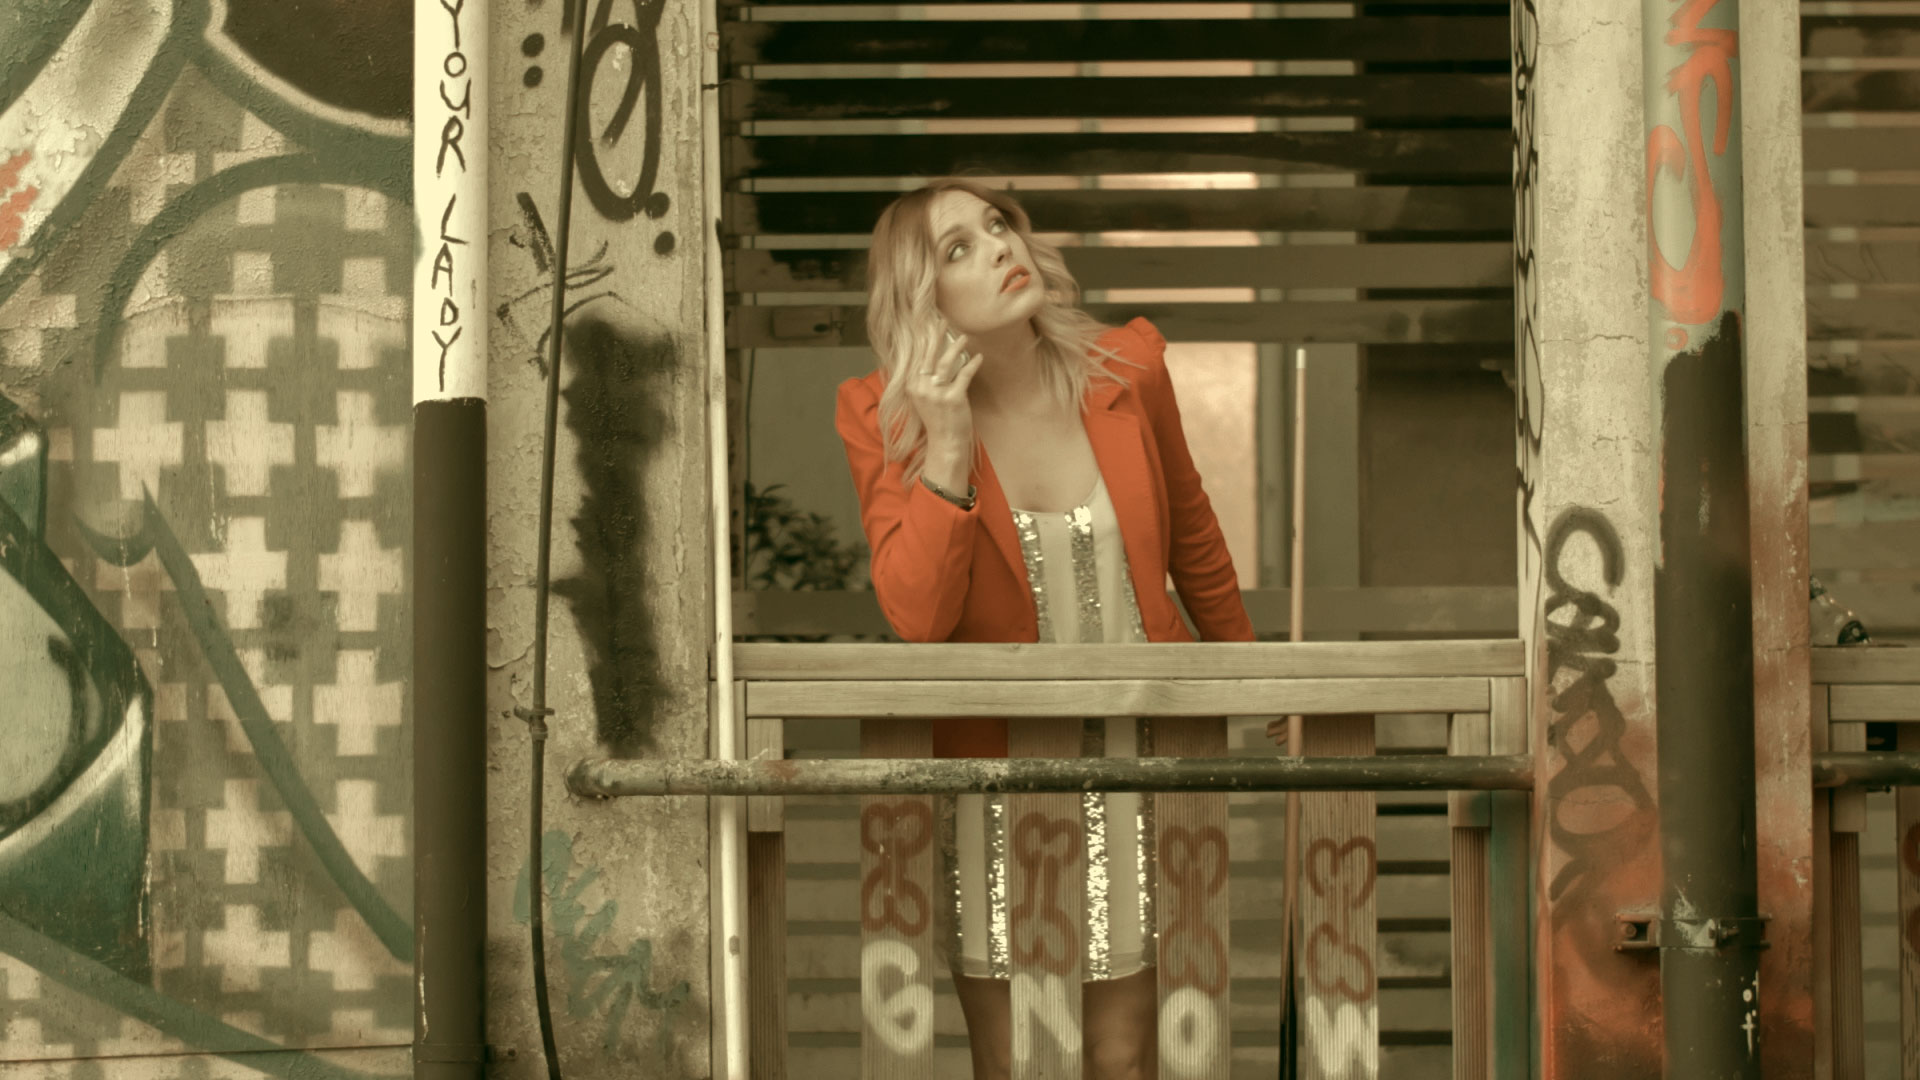
Here’s the test image I've been using, of Casey in Technicolor No. II.
Slightly more tanned (yellow) than Technicolor No. III, but really not all that different.
Fun
Now, that reasoning for making this is logically accurate and based on what I did with Technicolor III, but it's not very interesting. On assumption I made was that the dyes were the same hue, saturation and brightness in Technicolor II as they were for Technicolor III. But the dyes were not the same. Technicolor II prints have, sadly, faded horribly so the chemistry was different and probably, the dyes were slightly different as well.
While there is no great example of dyes the restored RG example from Doctor X, the best example from The Timeline of Film Colors is this:
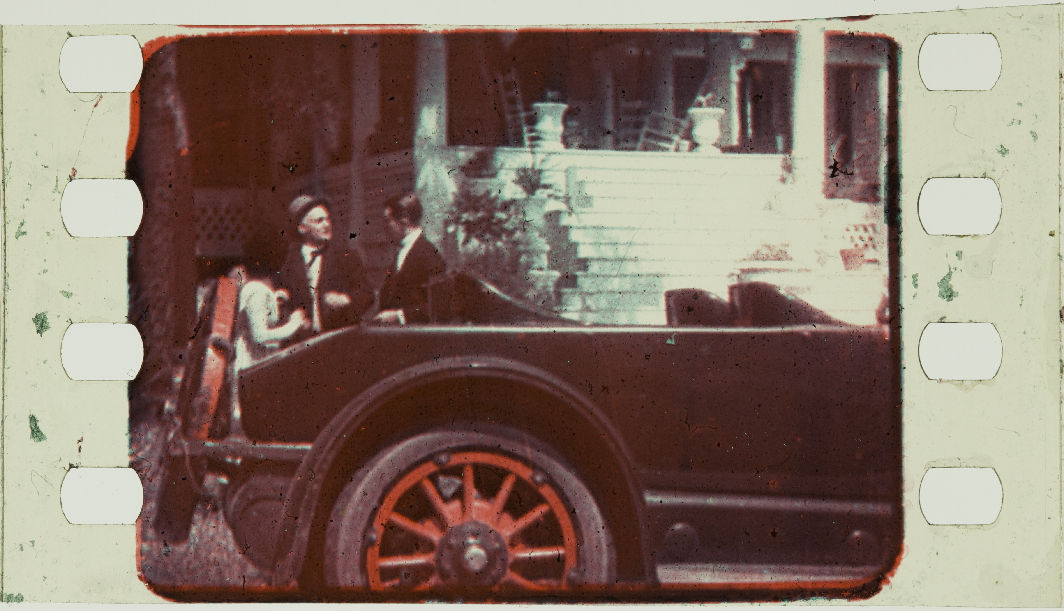 From The Gulf Between, from The Timeline of Historical Film Colors. 5
The image has quite a dramatic red, but the edge bleeds have a pretty good sample of red dye and a few splotches of green dye. The only problem is, the print also has the tanning, so while the red bleed is probably from an area not tanned (was black on the positive before being washed away and replaced by red), the green splotches were most likely flecks of dye and backed by tanning. But, careful searching around the opposite side from the red bleed is a green bleed.
Instead of just picking colour samples, I set myself a goal: replicate the black edges where the two dyes mesh, using samples from the red and green and adjusting as necessary. So, the black, I got Hue: 14 Saturation: 57 Brightness: 12. For the red I sampled, H: 14 S: 85 B: 71.
And for green, I started with a sample from the edge, H: 146 S: 52 B: 33. Close, but I needed to adjust a bit to get a close match to the target black. For adjusting I find 8-bit RGB values easier to work with. For the black the target was R: 30 G: 17 B: 13 and my green sample multiplied with red gave me R: 29 G: 22 B: 7. I needed a bit more final reen and a bit more blue. So, adjusting up the green dye from RGB R: 41 G: 85 B: 60 to R: 41 G: 75 B: 65 seemed to get pretty close. So I settled on a green dye of H: 162 S: 45 B: 29.
Run through the process with these new dyes colours gives us this, with no tanning added:
The result is vastly different, yet kind of interesting. The skin tones are quite nice and the dyes give a decent black. But what if we did as before and bumped up the saturation on both to 100%?
Interesting. It doesn't look like we need to add a tanning layer, since it seems incorporated into the model with the dye sampling. How about the Willeman neg from before?
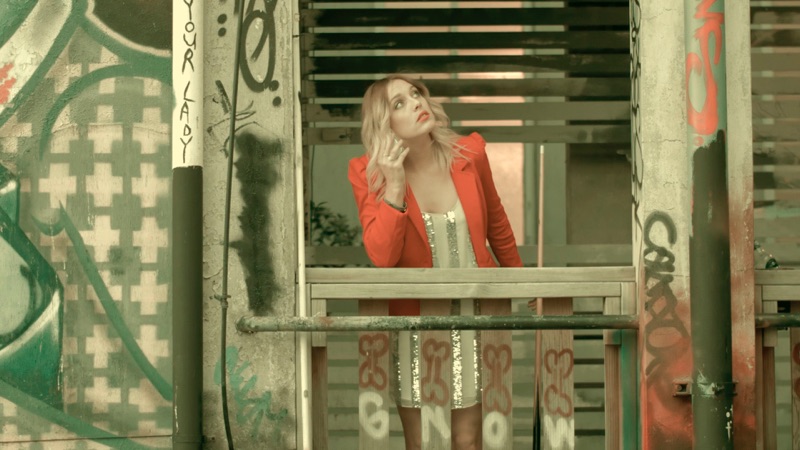
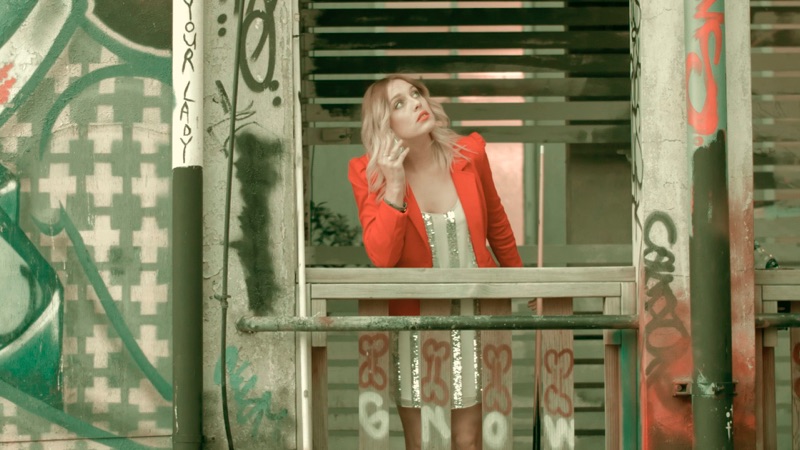
 Above is using the Technicolor III dyes, and below is using the new sampled dyes. Darks are now more brown than green, like in the window frame.
And for fun, let’s run this camera test of Mary Pickford through the process:
 Test with Mary Pickford. Credit: George Eastman House Moving Image Collection. Photograph by Barbara Flueckiger, from Timeline of Historical Film Colours.
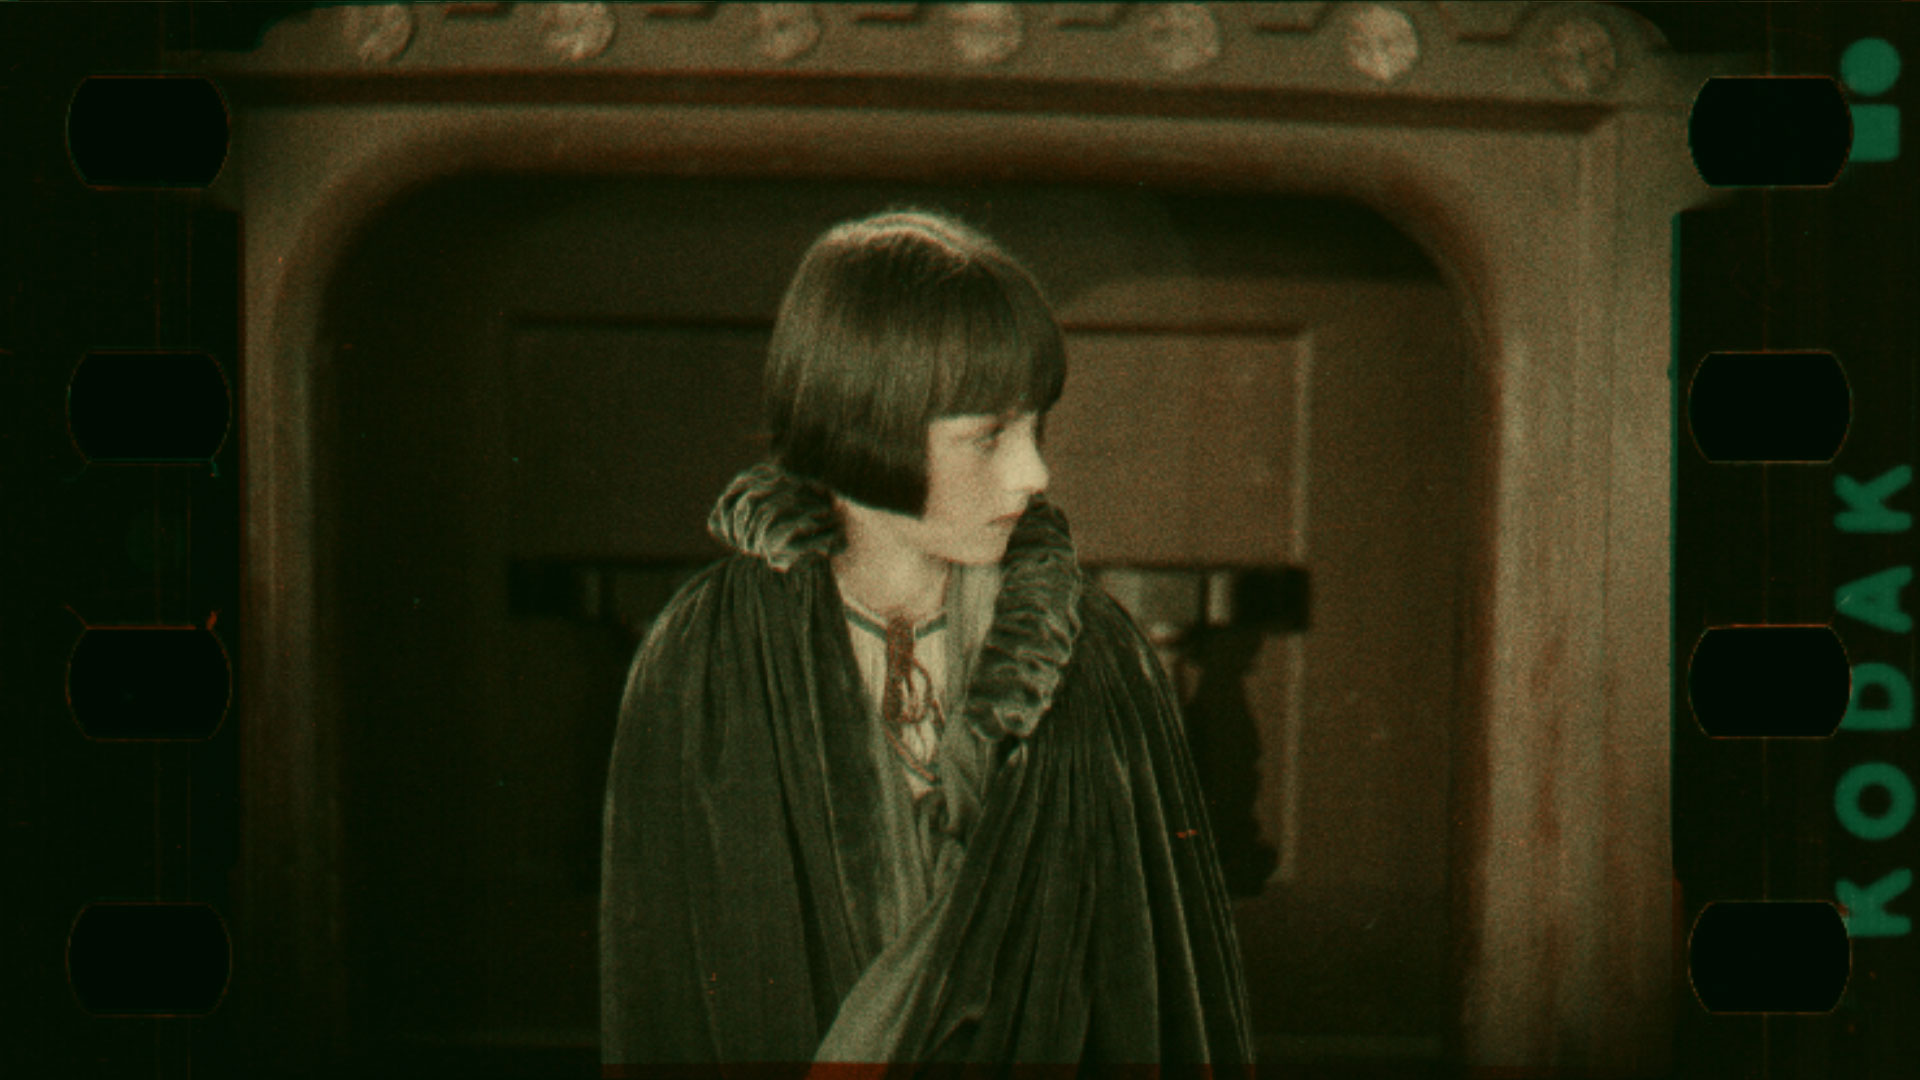 Mary Pickford, as she hasn’t been seen in almost 95 years, in a brand new Technicolor II digital print.
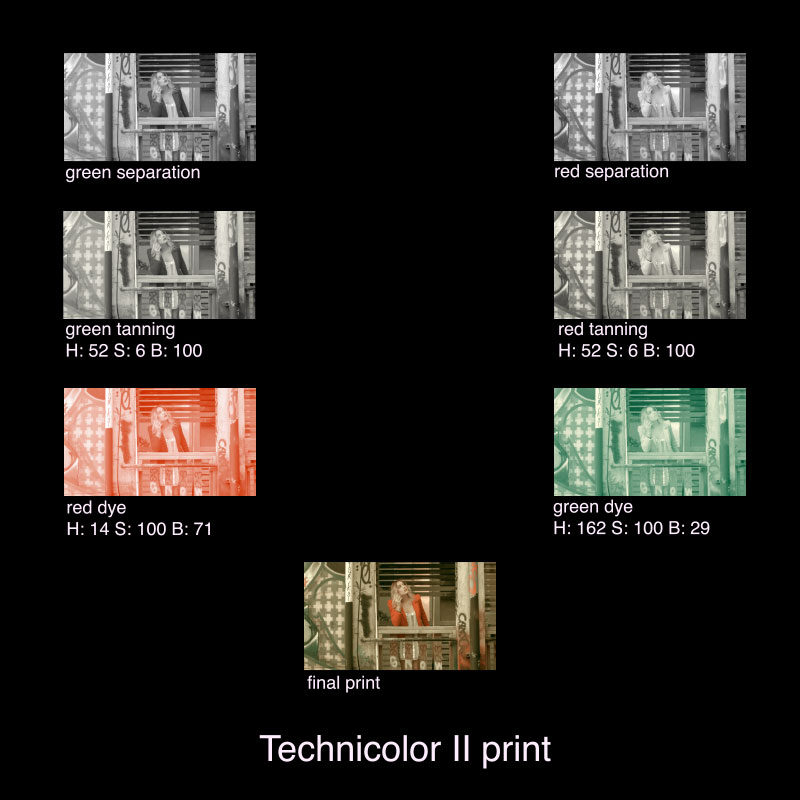
The Process
Here's the whole process for printing. The camera process is the same for Technicolor III, which used the System 2 camera.
Notes
-
Quote from Technicolor No. II, Timeline of Historical Film Colors.↩
-
See Tanning at Staining and tanning, 510-Pyro. My grain removal was only by eye and may have been too agressive.↩
-
It only makes sense, since the camera stayed the same and the camera filters stayed the same, it would take the same printing dyes to make the image work. But maybe different dyes were used, hence the heavy fading in the surviving prints. ↩
-
Also check out Hidden treasure in a film can: notes on our Technicolor rediscovery | BFI, for another take on a Technicolor No. II digital process.↩
-
The Gulf Between was a demoonstration feature film for the Technicolor process no. 1, shot with a System 1 camera and projected as an additive process and projected through green and red filters with a special projector. It was a total failure. This image is probably from a reconstruction of the film in Technicolor No. II. See The Story of the First Technicolor Film, and How It Went Horribly Wrong. ↩
Published Thursday, January 7, 2021. Revised Tuesday January 18, 2022.