The Digital Technicolor Processes
A DIGITAL PROCESS
I built a set of digital technicolor processes by reverse engineering the method used by Rob Legato on The Aviator. His method digitally broke an image down into the filtered components, then applied the dye colours and rejoined them. He made the filtered components by using a “re-filtering” process of subtracting the opposing colour channels to reproduce the “pure primary colors”, which produced a pretty intense effect.
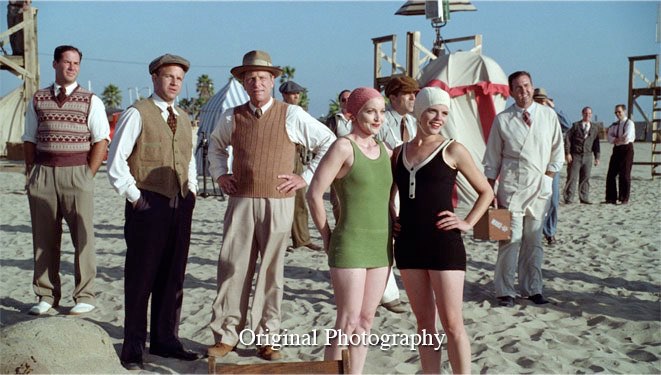
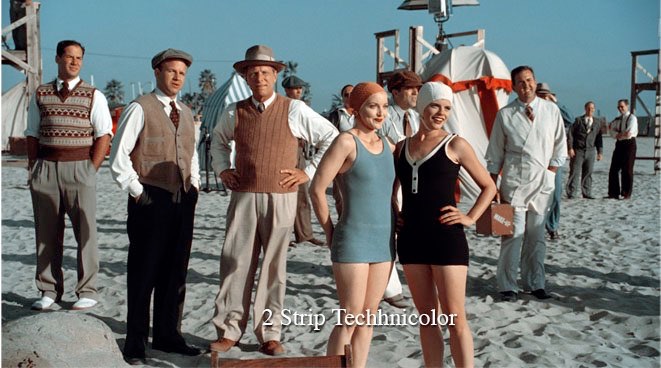
The Aviator 2 Strip Technicolor before and after example, from The Aviator Visual Effects – Behind the Scenes.
For my process, I used the basic method used in The Aviator of building a virtual Technicolor camera to create the filtered colour separations, then recombining the separations with a virtual Technicolor printing process. I added in a resource that wasn’t available in 2004: Barbara Flueckiger’s amazing Timeline of Historical Film Colors, and the book The Dawn of Technicolor: 1915–1932, James Layton and David Pierce, to get more accurate samples of the filters, dyes and more details on Technicolor processing.
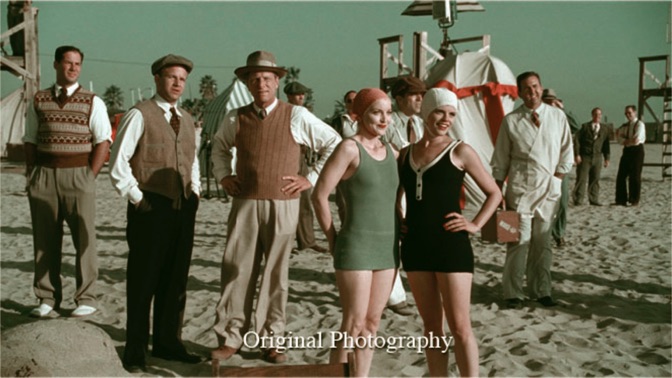
A version of my Technicolor II process, applied to the still sample from The Aviator. Not quite the same, with greens instead of cyans but I’m ok with that, because I feel it’s more accurate.
Thing is, Technicolor II and IV films didn’t have colours as punchy as The Aviator. Take a look at the samples from the Timeline of Historical Film Colors. Even the amazing looking The Wizard of OZ, the film that Rob Legato and Martin Scorsese screened as a reference, doesn’t look that burn-your-eyeballs-out intense.
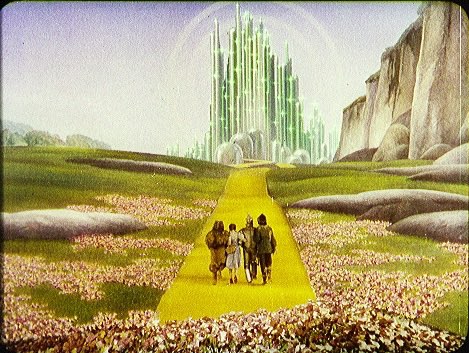
The Wizard of Oz (USA 1939, Victor Fleming). Credit: Images courtesy of the Academy Film Archive. Cropped from the photograph of the dye-transfer print by Barbara Flueckiger, from The Timeline of Historical Film Colors.
So what gives? The Aviator used Legato’s LUT in their Devinci, and then colour-graded the crap out of it. They added in more colour, not from accuracy, but from emotion and memory of what Technicolor felt like. In other words, they had fun.
How-to Rules
To do all this, I'm going to use a few basic digital compositing operations to mimic real-word processes:
- nesting After Effects compositions in each other, to mimic the flow of the image through the camera and the film processing/dyeing;
- colour solids to replace optical filters, for the most part (not in recreating The Aviator's method);
- the multiply blending mode, to mimic anything involving putting two transparent things together, like adding a filter, a layer of dye, or a tanning base layer; 1
- the Black & White effect in After Effects, to mimic the black and white film emulsions; and
- the toning effect in After Effects, to mimic the creation of dyed colour matrixes.
I used After Effects as my engine because it was good colour accuracy (be sure to set it to a higher bit-depth, like 16 or 32-bit). You could use pretty much any composting or colour grading tool, as long as you can translate my After Effects speak to what you use.
Notes
-
Multiply is bi-packing; add is double exposing, according to Stu Maschwitz. See Prolost, Real Men Comp with Film.↩
Published Friday, December 4, 2020.